Columns
Column items and column containers work together to display content in two, three or four columns, with the option of adding descriptions and images. These are good content types to use for a landing page or a homepage to signpost to content.
Column Examples
Three column items displaying title only.
Three columns with title and image.


Three columns with title and description.
Two columns with title, image and description.
Steps
Step one - create the column container
- Create the 'column container' in the chosen section by pressing the green button '+ Add content'.
- Select ‘column container’ in the content type list. If it is not there, type its name in the search bar and it should appear.

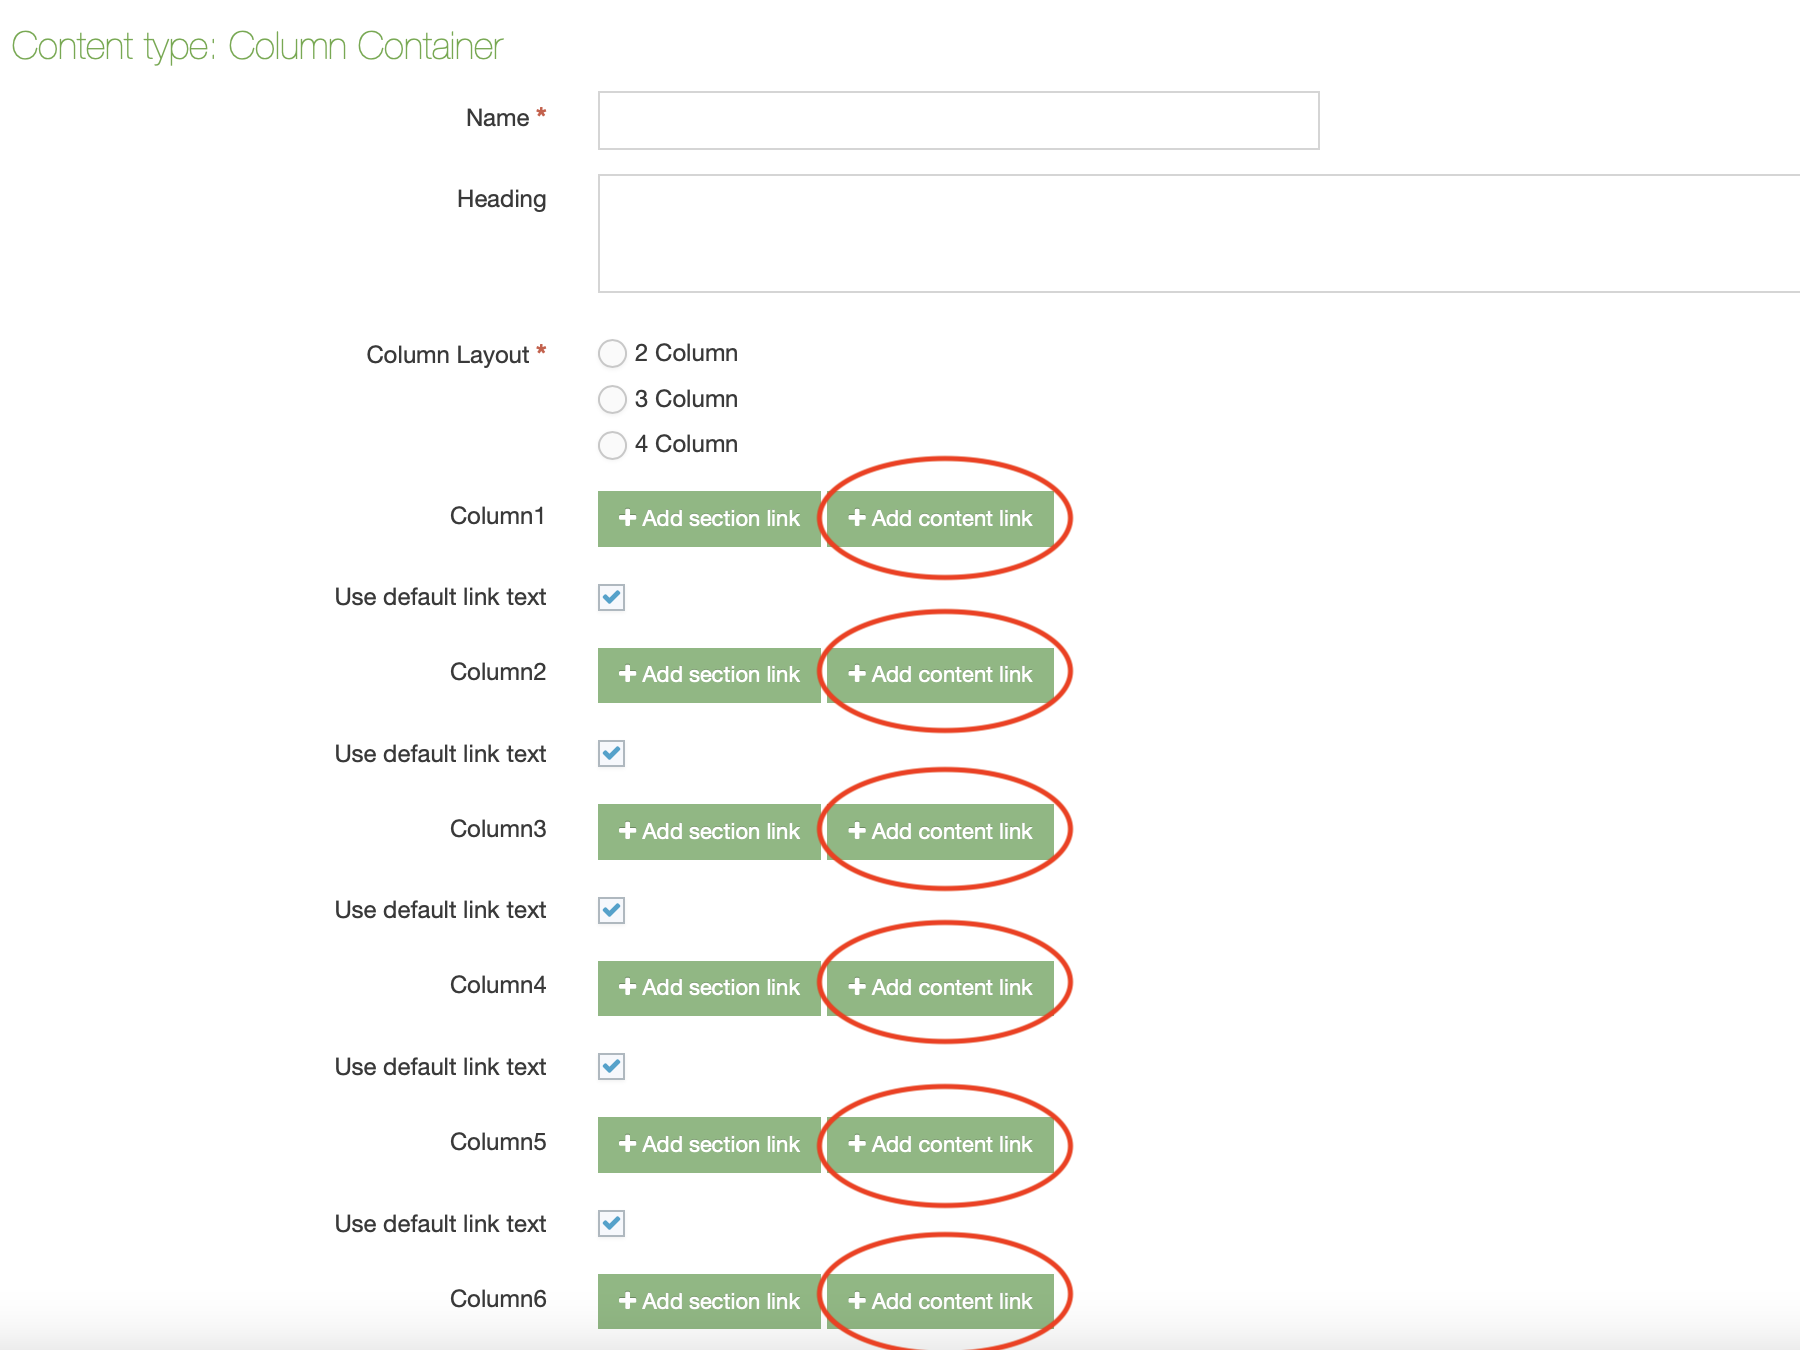
Step two - select the column layout
- Select whether it should be a two, three or four column layout.
The 'heading' text box can be left empty.

Step three - create your column item(s)
Same as with the column containers, create the column items by clicking on the green '+ Add content' button. Once created, you can fill in the below content fields.
- Name - item name for labelling purposes on T4.
- Title - this does not need to be filled out.
- Link - this could be a section link or content link.
- Image - choose an image from the media library. The dimensions should be 490 px by 235 px.
- External link - paste the URL here if the page is not hosted on T4.
- Content - you can format text here as you would for general content. Text will appear below titles and images.
- Background fill - tick 'yes' if you would like background fill.
- Border - tick 'yes' if you would like a border.
Step four - linking the column container to the column items
- Now that you have created the column items, return to the column container and click the '+ add content link'. button to link it with the column item. Repeat for the amount of column items that you have.
Step five - publishing your content
- Once the general content type is saved and approved, publish the column container and column items in the (child) section you created, and then the section itself.
Uploading images - important note
Make sure you have the appropriate permissions before publishing an image or video. This includes permission of the copyright holder and, in some cases, the permission of anybody in the image (eg a signed consent form). Find out more about this on our Images page.
Building multiple rows
You can build multiple rows of column items and containers, like on this page that uses multiple items. Just repeat the steps above. You will need to build a separate column container for each row.
Examples
Availability
On both old and new templates.
If you cannot add any of the content types mentioned, email websupport@qmul.ac.uk.