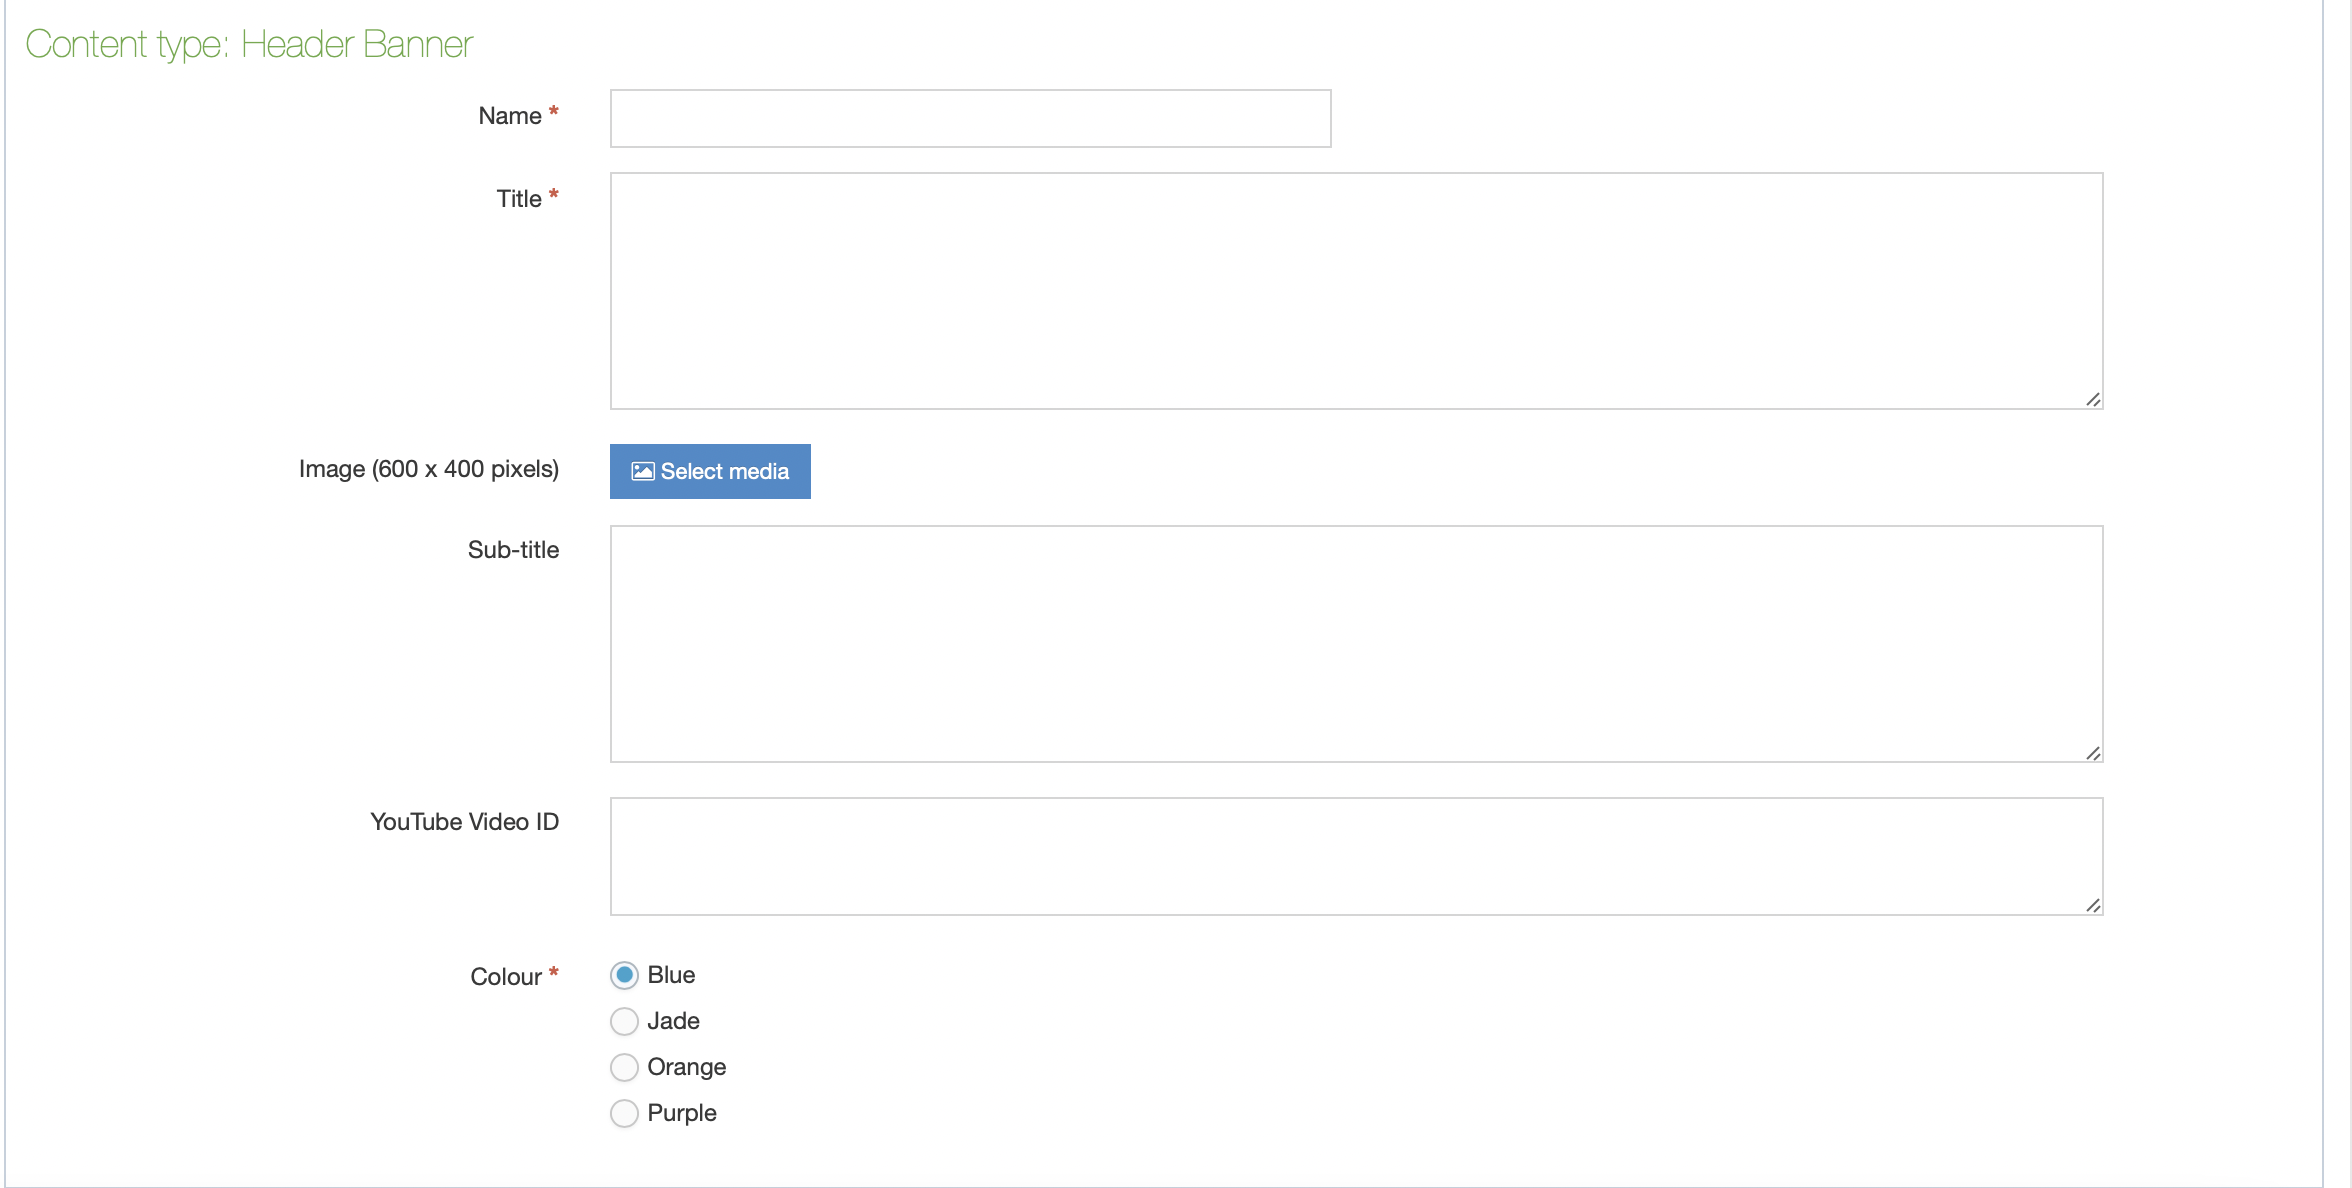
Header Banners should appear at the top of landing pages, and allow you to add a title, page description and image. They do not include buttons, so should be used alongside the Card content type when you wish to signpost to a range of pages.
This content type was built specially for landing pages. Speak to the web team if you're unsure whether your page is a landing page.
Steps
Step one - Create the content type
- Create the header banner content type by pressing the green '+ Add content' button.
- Select 'header banner' in the content type list. If it is not there, type 'header banner' in the content type search bar and it should appear.

Step two - Fill in the fields
- Fill in the relevant fields. Make sure to add the page title in the 'Title' field, and your webpage description in the 'Sub-title' field.
- If you want to show an image, select an image from the media library by clicking 'select media' and searching for it in the right folder. If it has not been uploaded before, upload it to the relevant folder. The image will need to be 600 x 400 pixels.
If you cannot see the '+ Media' button, or do not have access to relevant media library folders, please contact websupport@qmul.ac.uk.

Step three - Publish your content
- Click the small down arrow next to 'Save changes' so it opens a small window.
- Click 'Save and approve'.
- Publish the header banner itself and the (child) section it sits within to make sure it is published.

Uploading images - important note
Make sure you have the appropriate permissions before publishing an image or video. This includes permission of the copyright holder and, in some cases, the permission of anybody in the image (eg a signed consent form). Find out more about this on our Images page.
