Ribbon promo
Ribbon promos run the full width of the page and you can choose a right or left-hand side layout, different colours, adding images, a heading, description, and up to two call-to-action buttons. These are useful for a homepage or landing page, but can also be placed further down a page.
Ribbon promo examples
Steps
Step one - Create the ribbon promo
- Select the 'Ribbon promo' from the list of content types and fill out the relevant fields.
- Use the drop-down menu below to view the details of each field.
Ribbon promo content fields
Name: Give the ribbon promo a name that will help you remember what it's promoting. This won't appear on the public webpage, only in T4.
Heading: Add a title that displays on the public site, eg 'Centre of the Cell'.
Supporting text: You can add a description here. Text will appear below the heading and above the button.
Link 1 - text: Enter text here only if you are using an internal link. This text will display on the first button.
Link 1 - internal: Use the section or content link buttons to add an internal link, depending on the type of content you are linking to. Do not use this field if you are adding an external link.
Use default link text: Keep this box checked if you want the button text to stay the same as the heading (eg 'Centre of the Cell'). If you uncheck this box, it will reveal a new field - 'Enter custom link text' - where you can enter alternative button text (eg 'Learn more').
Link 1 - external: Paste an external URL here to link to an external page.
Link 2 - text: Enter text here only if you are using an external link. This text will display on the second button.
Link 2 - internal: Use the section or content link buttons to add an internal link, depending on the type of content you are linking to. Do not use this field if you are adding an external link.
Use default link text: Keep this box checked if you want the button text to stay the same as the heading (eg 'Centre of the Cell'). If you uncheck this box, it will reveal a new field - 'Enter custom link text' - where you can enter alternative button text (eg 'Learn more').
Link 2 - external: Paste an external URL here to link to an external page.
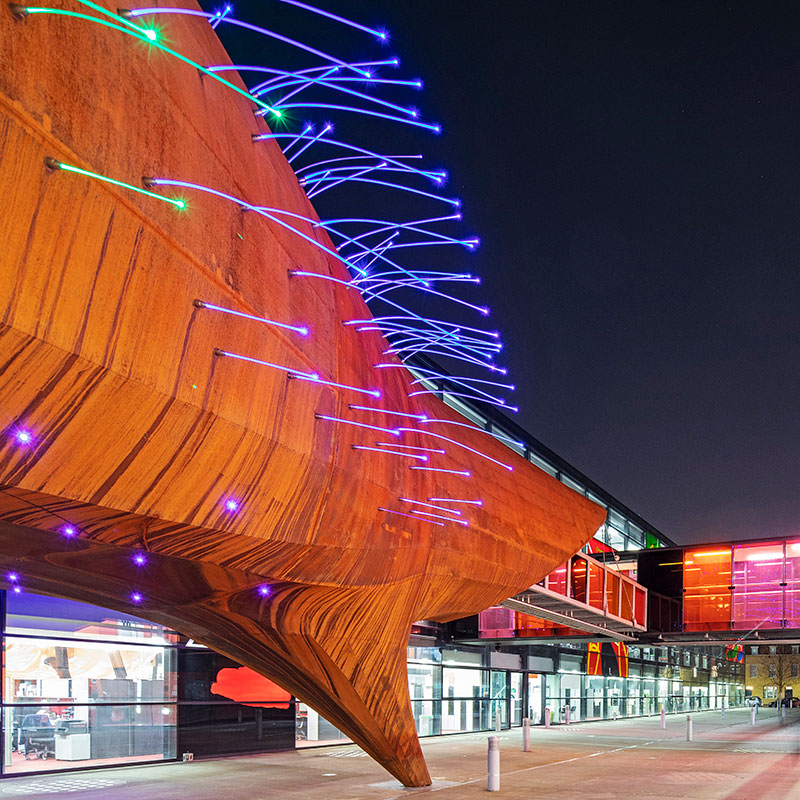
Image: Upload your image here. Images should be 800 px by 800 px.
Image Align: Select left or right image alignment.
Background: Select a colour for your promo block.
Footer text: Option to add text below the buttons.

Step two - Publish your content
- Save and approve the ribbon promo.
- Then select the 'Publish section' button located at the top of the section page where the ribbon promo was created.

Uploading images - important note
Make sure you have the appropriate permissions before publishing an image or video. This includes permission of the copyright holder and, in some cases, the permission of anybody in the image (eg a signed consent form). Find out more about this on our Images page.
Availability
On new One Web template only.

.png)